
Glass Splashback Black: Sleek Kitchen Design and Practical Maintenance

If you want a stylish, low-maintenance glass splashback that makes a strong design statement, black glass delivers sleekness and practicality in one solution. Black glass splashbacks resist stains, reflect light to enhance depth, and provide a seamless, easy-to-clean surface that suits modern kitchens and bathrooms. Glazier London offers professional supply and installation of glass splashbacks, ensuring quality and style for your space.
You’ll learn how a black glass splashback works with different styles, what to expect during installation, and the simple maintenance that keeps it looking new.

Key Takeaways
Black glass splashbacks offer a durable, easy-to-clean surface that boosts contemporary style.
Choose finishes and measurements carefully to match your design and installation needs.
Installation needs basic professional fitting and routine wipe-down maintenance.
Key Features and Benefits
This section highlights practical performance, visual impact, and maintenance advantages you gain from a black glass splashback. Expect specific details on heat and impact resilience, how the finish changes room perception, and the exact cleaning approaches that keep it pristine.
Heat and Impact Resistance
Black toughened glass splashbacks are heat-treated to at least four times the strength of annealed glass, which means they resist cracking from stove-top heat and minor knocks. You can place them up to 300–400°C behind most cooktops without tempering failure, but keep hot pans from direct prolonged contact to preserve sealant and paint layers.
The toughening process also reduces the risk of dangerous shards; if breakage occurs the glass fractures into small, blunt granules rather than long shards. Installation with a proper backing—usually a stainless-steel or cement-based adhesive—adds rigidity and distributes impact forces, lowering the chance of stress fractures at cut-outs for sockets or taps.
Pay attention to edge finishing: polished or bevelled edges reduce chipping at cut-outs and around corners. Where you have high-use areas, specify 6–10mm thickness; thicker panels improve impact resistance and stability across join lines.
Modern Aesthetic Appeal
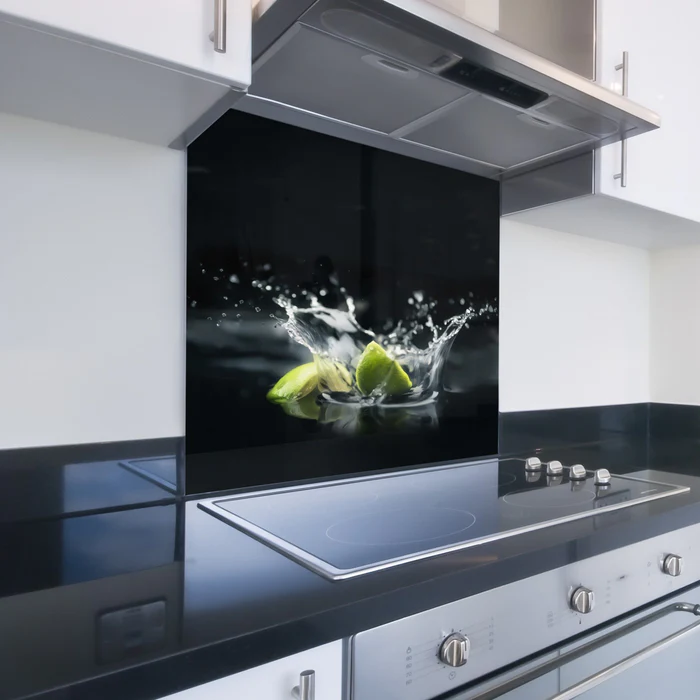
A black glass splashback offers a deep, uniform finish that absorbs and reflects light differently from painted walls. It visually anchors countertops, creates contrast with metallic appliances, and emphasises clean lines in contemporary kitchens. You can choose high-gloss for mirror-like reflections or matt-effect processed glass for a softer, anti-glare look.
Because the colour sits behind the glass (usually on the reverse-coated surface), the finish remains consistent and colourfast even when exposed to detergents and sunlight. You can pair a glass splashback with lighter cabinetry or natural stone to create a dramatic focal point, or use full-height panels to make small kitchens feel taller.
Customisation options include printed patterns, integrated LED backlighting, and precise cut-outs for sockets and taps, allowing you to preserve visual continuity around functional elements. These options let you match specific colour tones, RAL codes, or even photographic imagery while maintaining the practical benefits of glass.
Ease of Cleaning
Black glass splashbacks clean faster than grout-lined tiles because they present a continuous, non-porous surface. For daily maintenance use a microfibre cloth with warm water or a mild pH-neutral cleaner; this removes fingerprints, grease splatter and watermarks without harming the reverse paint.
For tougher deposits such as dried-on fat or caramelised sugar, apply a non-abrasive cleaner and let it soak for a minute before wiping with a soft pad. Avoid scourers, wire brushes, or acidic descalers which can scratch the surface or etch the backing paint. For silicone joints and edges, check and replace sealant every few years to prevent mould and to maintain a watertight barrier.
Consider a simple cleaning kit: microfibre cloth, diluted mild detergent, and a soft squeegee. This routine keeps the dark finish streak-free and reduces the need for professional polishing or replacement.

Installation and Design Considerations
Black glass splashbacks demand accurate measurement, correct substrate preparation and attention to lighting to achieve the intended look and durability. You will need to plan for glass type, fixing method, seam placement and how light interacts with the surface.
Suitability for Different Spaces
Black glass splashbacks suit kitchens, bathrooms and bar areas where contrast, easy cleaning and a sleek aesthetic matter. In kitchens, choose toughened, heat-resistant glass rated for splashback use when fitting behind hobs; maintain a minimum 5–10 mm gap to heat sources if the manufacturer requires it. For bathrooms, confirm the glass has appropriate water-resistant backing and that vapour-prone walls are prepared with cement board or moisture membrane.
Consider site conditions: uneven walls require substrate levelling or battens to prevent point loads. In high-traffic or commercial areas, opt for 10 mm glass and mechanical fixings rather than adhesive-only systems. If you have radiators, ovens, or island extractor fans nearby, locate seams and joints away from heat and moving parts.
Custom Sizing and Fitting
Measure to the nearest millimetre and record heights at several points; walls are rarely plumb or flat. Order your glass splashback with cut-outs precisely located for sockets, switches and taps; supply templates or on-site measurement can reduce errors and additional costs. Expect lead times of 1–3 weeks for standard sizes and longer for bespoke shapes or mirrored backing.
Use specialist installers like Glazier London for bonding and silicone joints; they will use neutral-cure silicone compatible with painted or mirrored backing and follow manufacturer cure times. For joins over runs longer than 1200–1500 mm, plan a vertical seam and use a colour-matched silicone or stainless splice to maintain appearance. Keep spare panels or edge samples for future repairs or matching.
For a flawless finish and lasting durability, trust Glazier London to supply and install your black glass splashback, ensuring your kitchen or bathroom benefits from both style and practicality.
For more guidance, explore our Glass Splashback for Cooker and Glass Splashbacks Near Me blogs to complete your kitchen planning.
Lighting and Visual Effects
Lighting can transform a glass splashback from absorptive to reflective, altering depth and perceived colour. Use layered lighting: under-cabinet LEDs for task illumination, uplighters for wall wash and adjustable downlights to control glare. Warm 2700–3000 K LEDs soften reflections; 4000 K produces crisper contrast.
Take care with specular highlights and direct beam angles to avoid distracting reflections of appliances or people. If you want a softer visual effect for your glass splashback, specify anti-reflective coating or a low-gloss finish where available. Consider backlit panels behind translucent sections for dramatic accenting; plan for cable runs, diffuser material and service access during installation. Glazier London recommends discussing your lighting plans with their team to ensure your glass splashback achieves the desired look and functionality.


Comments